Warning
This extension is not maintained anymore. Please use Amazon Pay (Checkout v2) instead.
Design customization
Frontend templates
If you are using a custom design theme and would like to adjust the appearance of Login and Pay with Amazon templates, please complete the following steps (all paths are relative to the Magento root folder):
Warning
Never edit the default template or skin files directly as they can be (and surely will be) overwritten when upgrading this extension to a newer version. Edit their copies only as described below.
Create folders:
app/design/frontend/YOURPACKAGE/YOURTHEME/template/creativestyle/amazonpaymentsskin/frontend/YOURPACKAGE/YOURTHEME/creativestyle/cssskin/frontend/YOURPACKAGE/YOURTHEME/creativestyle/imagesOn Unix-like (Linux, BSD) servers you can achieve this by running following commands, please remember to replace
YOURPACKAGEandYOURTHEMEwith the real names of your theme:$ cd /path/to/your/Magento $ mkdir -p app/design/frontend/YOURPACKAGE/YOURTHEME/template/creativestyle/amazonpayments $ mkdir -p skin/frontend/YOURPACKAGE/YOURTHEME/creativestyle/css $ mkdir -p skin/frontend/YOURPACKAGE/YOURTHEME/creativestyle/imagesClone the following files:
app/design/frontend/base/default/layout/amazonpayments.xmlapp/design/frontend/base/default/template/creativestyle/amazonpayments/*skin/frontend/base/default/creativestyle/css/amazonpayments.cssskin/frontend/base/default/creativestyle/images/*On Unix-like (Linux, BSD) servers you can achieve this by running following commands, please remember to replace
YOURPACKAGEandYOURTHEMEwith the real names of your theme:$ cd /path/to/your/Magento $ cp app/design/frontend/base/default/layout/amazonpayments.xml app/design/frontend/YOURPACKAGE/YOURTHEME/layout/amazonpayments.xml $ cp app/design/frontend/base/default/template/creativestyle/amazonpayments/* app/design/frontend/YOURPACKAGE/YOURTHEME/template/creativestyle/amazonpayments/* $ cp skin/frontend/base/default/creativestyle/css/amazonpayments.css skin/frontend/YOURPACKAGE/YOURTHEME/creativestyle/css/amazonpayments.css $ cp skin/frontend/base/default/creativestyle/images/* skin/frontend/YOURPACKAGE/YOURTHEME/creativestyle/images/*
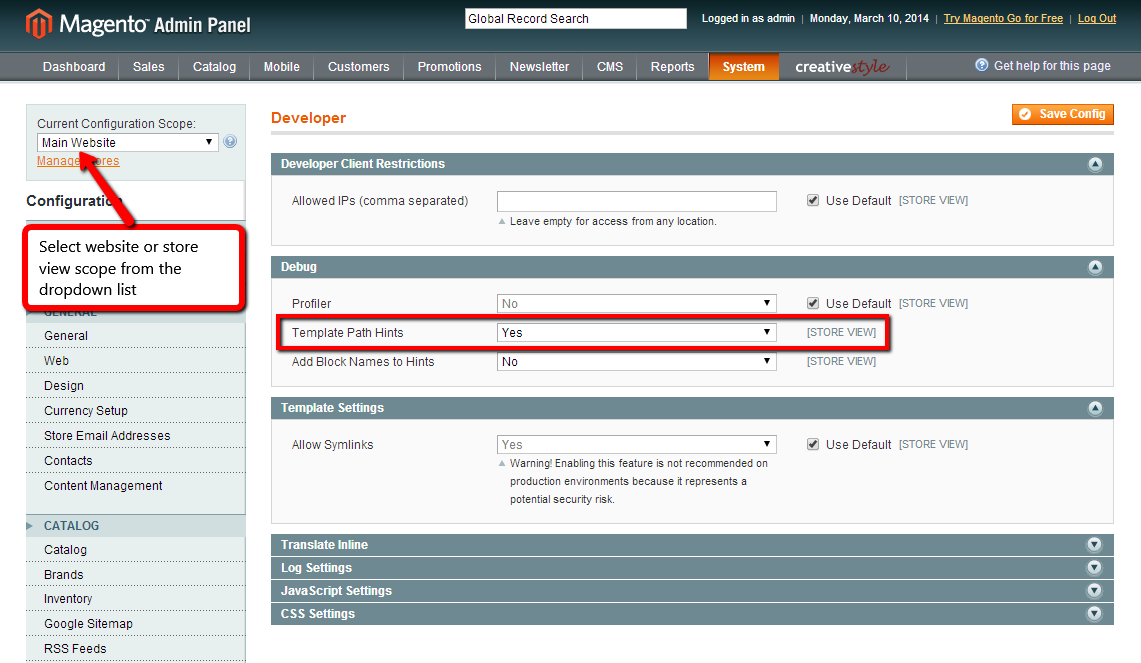
After cloning the above files to your theme folders, you can adjust the design by editing the appropriate files (HTML templates, CSS stylesheets and layout file). You can enable Template Path Hints to find out the names of the template files used by the extension in particular steps of the checkout process (in Magento admin, within selected store view scope: ).
Note
Please note that the ID attributes of all HTML tags must be preserved, otherwise changes to the corresponding JS scripts must be applied (do not try to change it unless you know what are you doing).
Basic appearance of rendered Amazon widgets (button color and size of all widgets) can be set in the Pay with Amazon extension settings (), see Common Appearance Settings, Appearance Settings for Login and Pay with Amazon and Appearance Settings for standalone Pay with Amazon for more details.
Amazon Payments logo
If you want to place the Amazon Payments logo in your shop to let your customers know you’re using payment services provided by Amazon Payments refer to the following guidelines:
- logos:
- button placement:
To complement the logos you should mention Amazon Payments under your listing of supported payment methods.
Email templates
Magento provides an easy-to-use mechanism for adjusting email templates’ appearance and content. If you want to customize the emails that are sent by the extension, go to in your Magento admin and follow the instructions:
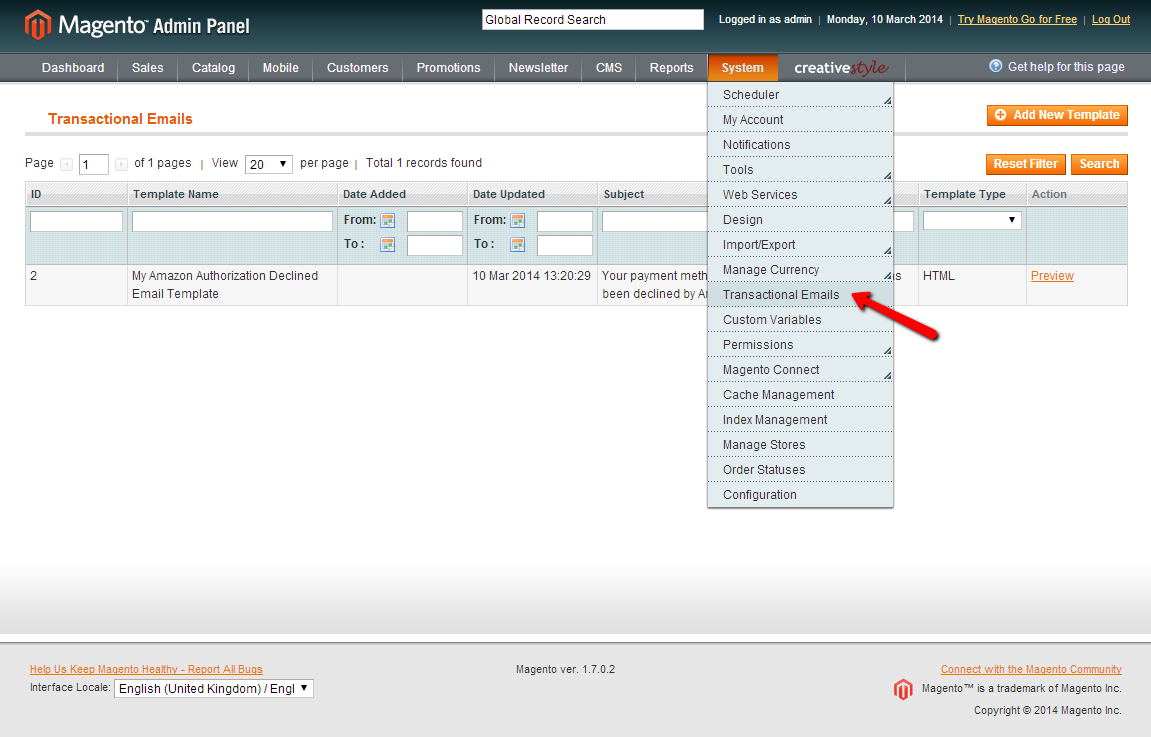
On the Transactional Emails list press Add New Template button and the form will appear. In the Load default template section choose Amazon authorization declined from the Template dropdown, change Locale, if needed, which will be used for the loaded template pattern (Pay with Amazon extension provides 3 locales: German, English UK and English US, for any other locale selected, the english (US) template will be loaded) and press Load Template button.
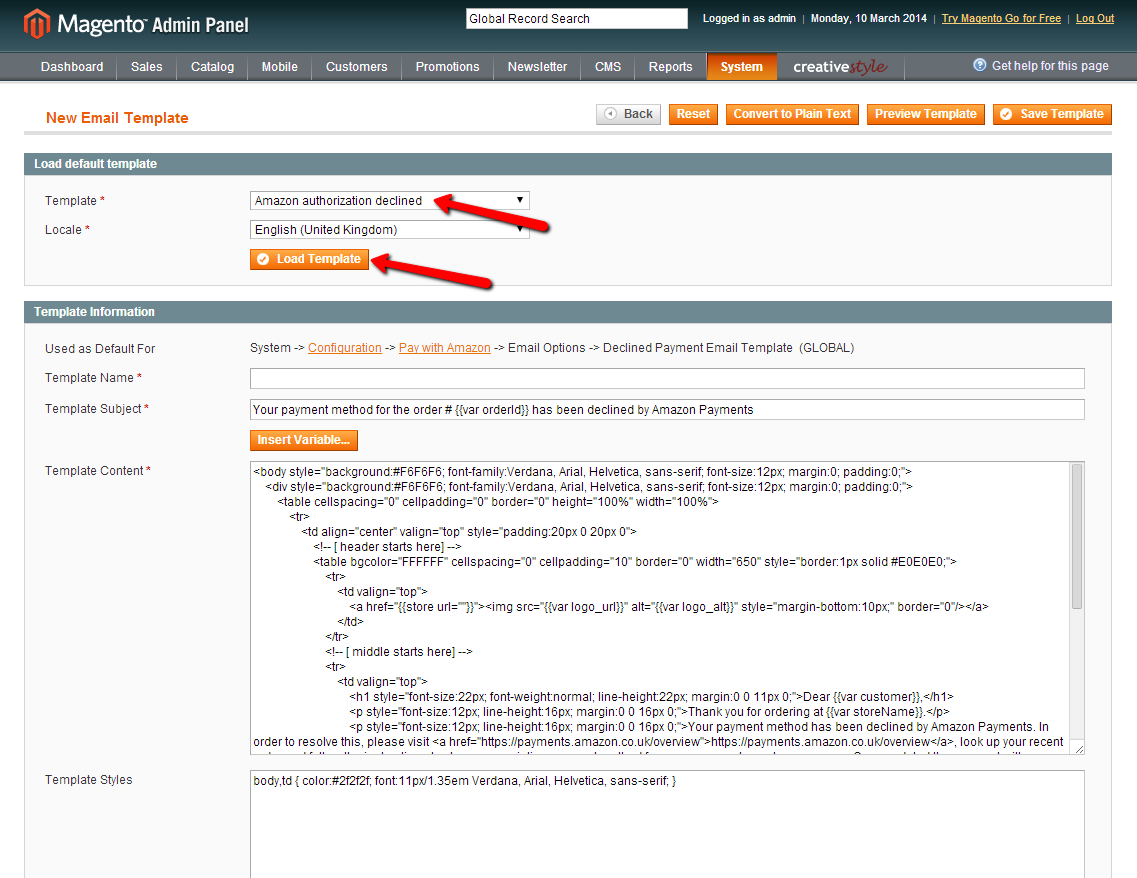
Fields in Template Information section will be filled out with the data taken from the default email template. Please fill in the missing name of your modified email template in the Template Name input, adjust Template Content and Template Styles to your needs and save your work by pressing Save Template button. The new template shall appear on the Transactional Emails list.
The newly created email template can be used now, you can switch to it in the extension settings, see: Declined Payment Email Template.