Configuration
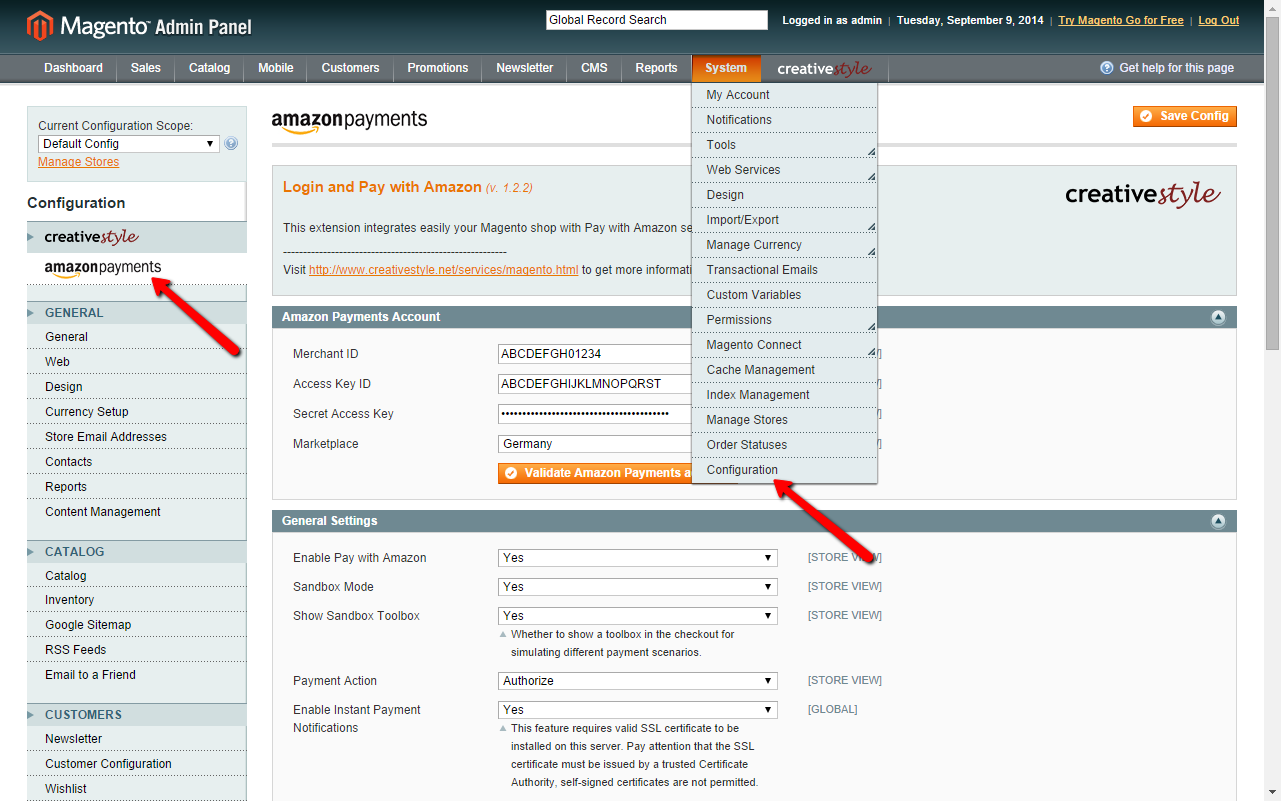
After the successful installation you can proceed to the configuration. In the Magento admin go to System ‣ Configuration ‣ Amazon Payments tab.
Available options are grouped within the following tabs:
Amazon Payments Account
In this section you can define your Amazon Payments seller account credentials.

Merchant ID, Access Key ID, Secret Access Key
Fill out those fields with your Amazon Payments seller credentials. You can find them in the Amazon Seller Central, see: Merchant ID and AWS Access Key / Secret Key.
Marketplace
Select the country where you registered your seller account from the provided drop-down list. If you’re unsure about this information consult your Amazon Integration Assistant.
Validate Amazon Payments account
This button is designed to validate your Amazon Payments account credentials. Please use it to check whether your credentials (Merchant ID, Access Key ID, Secret Access Key and Marketplace) are valid or not.
General Settings
In this section you can enable or disable the Pay with Amazon service and define basic settings of the extension.
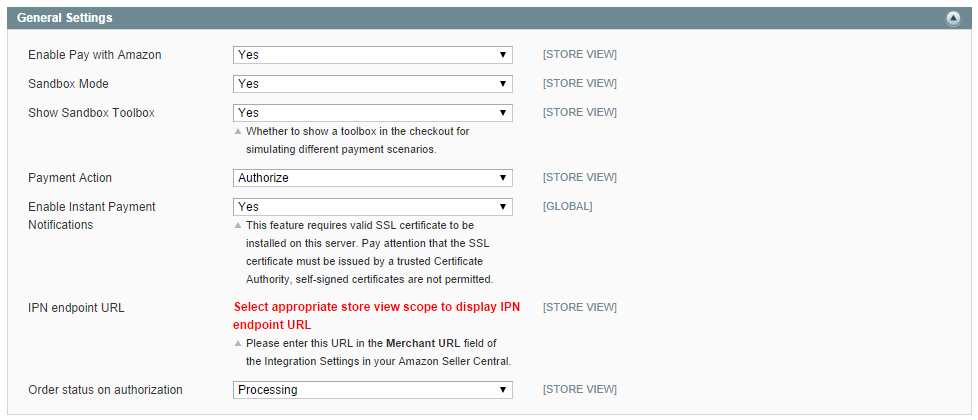
Enable Pay with Amazon
By switching this option you can enable or disable Pay with Amazon. This option must be set to “Yes” if you want to provide the Pay with Amazon service to your customers.
Sandbox mode
Sandbox mode has been designed to test the Pay with Amazon service. In sandbox mode the selected payment method is not charged. Refer to the Pay with Amazon documentation to get more information about the sandbox environment. In general, sandbox mode should be enabled for development and staging environments for testing and always has to be disabled for production environments. Never show the sandbox buttons and widgets to buyers in your live environment.
Show Sandbox Toolbox
In sandbox mode you can simulate certain states for the different objects in the payment process. By enabling this option you get additional fields on the Amazon Checkout page that allow selecting expected payment statuses for orders, authorizations, captures and refunds returned in responses. This feature allows you to simulate different scenarios including declines in the sandbox environment.
Payment Action
You can select the desired payment action taken after an order is placed. By default the authorization is made automatically at order placement and the capture must be triggered by the seller by creating an invoice in Magento admin (Authorize method). By selecting the Authorize & capture method, the order amount will be captured immediately at order placement, which means that the authorization will be followed by an immediate capture call. If you want to use this setting, it is mandatory that you get white-listed for this feature by Amazon Payments first. Do not activate this option without contacting Amazon Payments first.
Warning
Please use Authorize & capture method only in the case you are shipping goods on the same day they are ordered and you have been white-listed for this service.
Enable Instant Payment Notifications
This option enables or disables handling of Instant Payment Notifications, which are used by Amazon Payments for sending feedback concerning the status of payment objects. Keep in mind that using IPN requires having a valid SSL (issued by a trusted CA) installed on your server and correctly configured Secure Base URL (System ‣ Configuration ‣ Web). In case you disable IPN and want to use data polling instead you need to setup a cron for your shop.
IPN endpoint URL
This auto-generated value shall be entered in the Merchant URL field of the Integration Settings in your Amazon Seller Central in case you plan to use IPN. If you use more than one store view in your Magento installation, the IPN endpoint URL will be shown after selecting appropriate store view scope.
Data polling frequency
If you don’t have a valid SSL certificate in your shop or due to any other reason you don’t want to use IPN, you can set how often status of the different object shall be polled from Amazon Payments servers. Note that the cron must be setup for your shop for periodic triggering routines that poll payment data.
Order status on authorization
With this option you can change the status to which an order will be set after a successful authorization. In most cases leaving the default value seems to be a good idea.
Login with Amazon
In this section you can configure Login with Amazon service.

Enable Login with Amazon
By switching this option you can enable or disable Login with Amazon feature. This service must be enabled if you want to create customer accounts in your Magento shop when order is placed and to make sure that any of the orders paid with Pay with Amazon will be never a guest order.
Client ID
The Client ID identifies your website for Login with Amazon service. Please refer to the Obtaining Client ID section to find out how to get the value of your Client ID.
Email Options
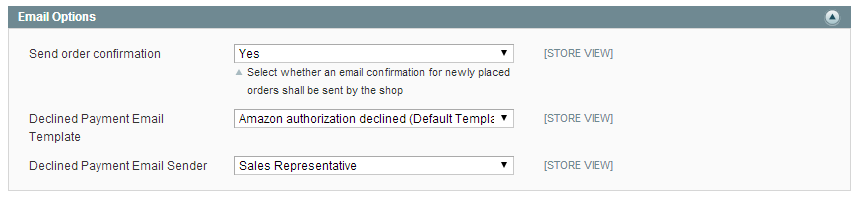
Send order confirmation
This option allows you to select whether a confirmation email for newly placed orders shall be sent by the shop. Note that, regardless this setting, a payment confirmation will be always sent by Amazon Payments.
Declined Payment Email Template
In this option you can select an email template which will be used for notifying customers about declined authorizations. Refer to the Email templates section to find out how to customize email templates.
Declined Payment Email Sender
With this option you can define the sender of the Authorization declined email notification. The sender can be selected from the pre-defined Magento email contacts (System ‣ Configuration ‣ Store Email Addresses).
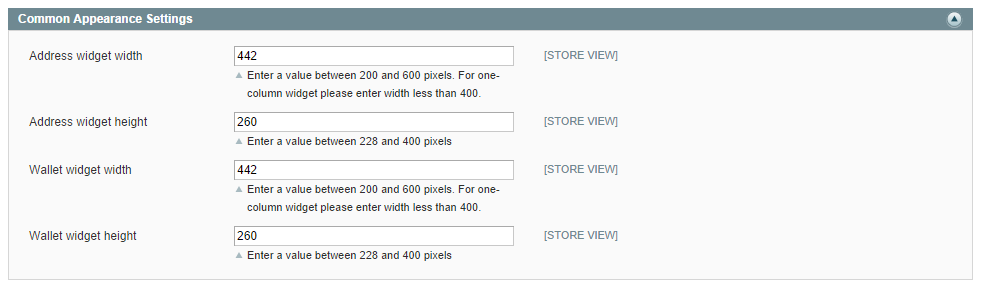
Common Appearance Settings
In this section you can set size (width and height) of the Amazon widgets used in the checkout process.
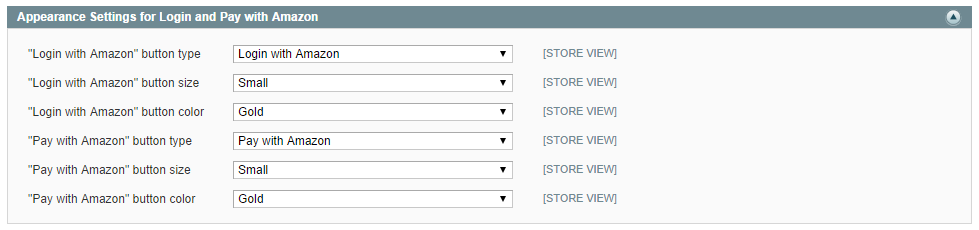
Appearance Settings for Login and Pay with Amazon
These settings apply to the design (type, size and color) of the buttons, both Pay with Amazon and Login with Amazon, when Enable Login with Amazon option is set to “Yes”, therefore they become irrelevant if you don’t use Login with Amazon service, you may be interested then in Appearance Settings for standalone Pay with Amazon.
Appearance Settings for standalone Pay with Amazon
These settings apply to the design (size and color) of the Pay with Amazon button when Enable Login with Amazon option is is set to “No”, therefore they become irrelevant if you use Login with Amazon service, Appearance Settings for Login and Pay with Amazon are applied then.

Developer options

Allowed IPs (comma separated)
For testing or debugging purposes you can restrict access to Pay with Amazon checkout in your shop to certain IP numbers only. Pay with Amazon button will be shown only for the visitors coming from allowed IPs. You can set more than one allowed IP separated with commas.
Enable logging
The Pay with Amazon extension comes with a dedicated logging mechanism. Any exception, API call or IPN notification will be saved to the var/log/amazonpayments folder in your Magento installation. For your convenience logs are also accessible via creativestyle ‣ Amazon Payments ‣ Log preview in Magento admin. Refer to the Event logs section to get more details concerning the logging feature.